If you’ve ever wondered how to store food without a pantry, you’re not alone—and the good news is, it’s totally doable. Whether you’ve got a shelf, a closet, or just a couple of drawers, there are simple ways to make it work.
In my last post, The Budget-Friendly Pantry: What It Is and Why I’m Building One, I shared why I’m building a budget-friendly pantry from scratch. But before we start shopping and stocking up, we’ve got to figure out where to put everything—even if there’s no “real” pantry in sight.
Setting up a food storage space (even without a “real” pantry) helps you stay organized, avoid food waste, and actually save money—because you can see what you have and plan meals around it. It also makes it easier to stock up on sales or build a little backup stash for busy nights.
Where to Store Food Without a Pantry: Creative Storage Spots That Work
If you’re thinking you need to build a new room or a huge closet for your pantry, think again. The size of your pantry will depend on how much food you want to store. Choose a space that works for you — it could be a hallway closet, an empty bookshelf, a corner in the kitchen, or even under your bed.
The size of your space doesn’t matter as much as the conditions — it should be dry, cool, dark, and easy to reach.
I’m lucky to have a small pantry-type cupboard space in my kitchen cabinets that works perfectly for this.
Where do you have a little extra space that stays cool and dry?
Declutter and Clean: The First Step to Creating a Pantry Without a Pantry
Now it’s time to declutter the space you’ve chosen.
If you’re space has food items, get rid of expired foods and/or foods that you have not used ever. You know the ones I’m talking about? That old box of ____ sitting at the back of the cupboard “just in case” you’ll need it someday and that was 10 years ago? Ya that one…get rid of it!
Keep only foods that you know you use on a regular. Foods that you only use once in a blue moon can be bought at the time of needing it. Set these items aside for later. You’ll be adding these to your inventory.
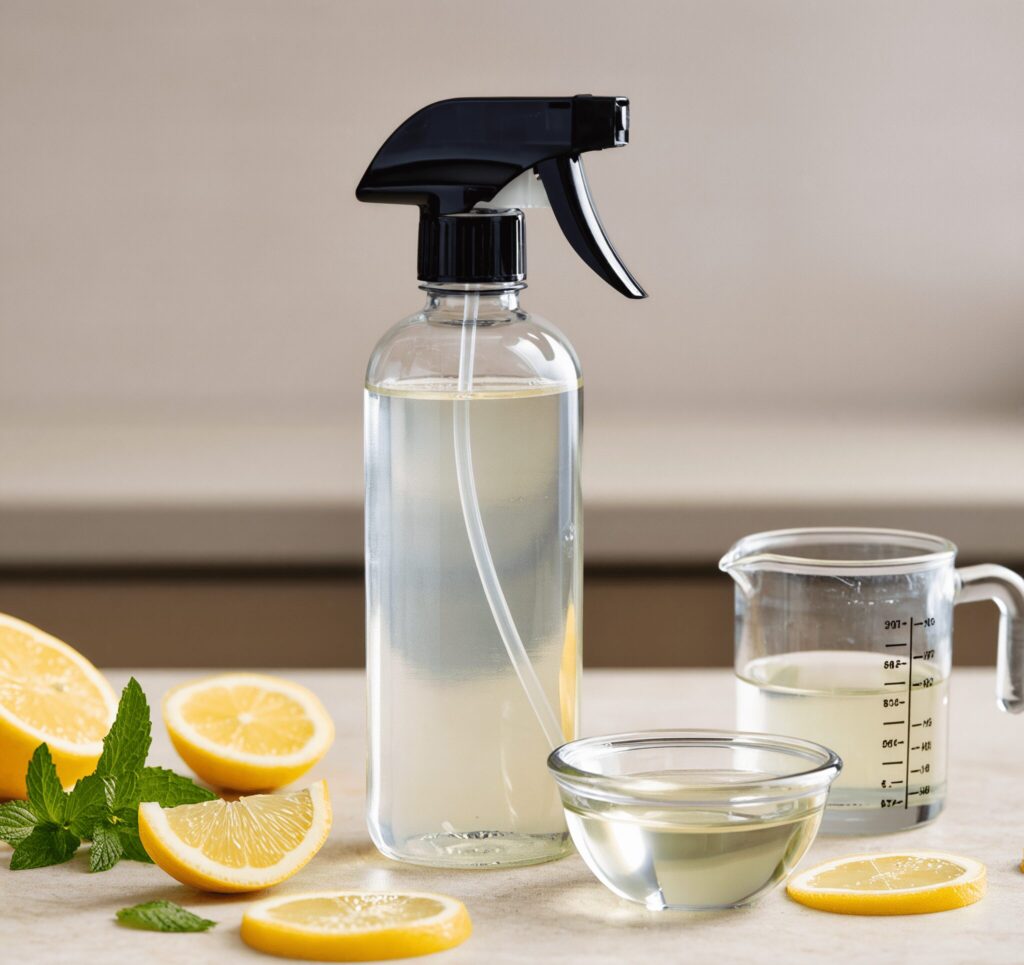
Next let’s clean the area thoroughly. You can use a simple mixture of vinegar and water in a spray bottle for this.
And it’s great at cleaning sticky shelves.
Check out my post on How to Make Your Own Vinegar Cleaning Spray with only two ingredients!
Start a Simple Pantry Inventory Even If You’re Just Using a Shelf
Now that you’ve cleaned out your chosen spot for your new budget-friendly pantry, you’re ready to start stocking inventory.
But before you start stocking up, it helps to know what you already have — even if your “pantry” is just a corner of a shelf or a few baskets.
Tracking your starting inventory isn’t about being perfect or writing down every grain of rice. It’s about giving yourself a clear picture so you don’t overbuy or forget about that half-used bag of flour shoved in the back.
🎯 Why This Matters
When you’re building a pantry on a budget, it’s easy to end up with three jars of peanut butter but no rice. A quick inventory helps you shop smarter, waste less, and feel more in control of what’s already in your kitchen — no matter how small your space is.
Here’s how to get started:
- Look Through What You Already Have
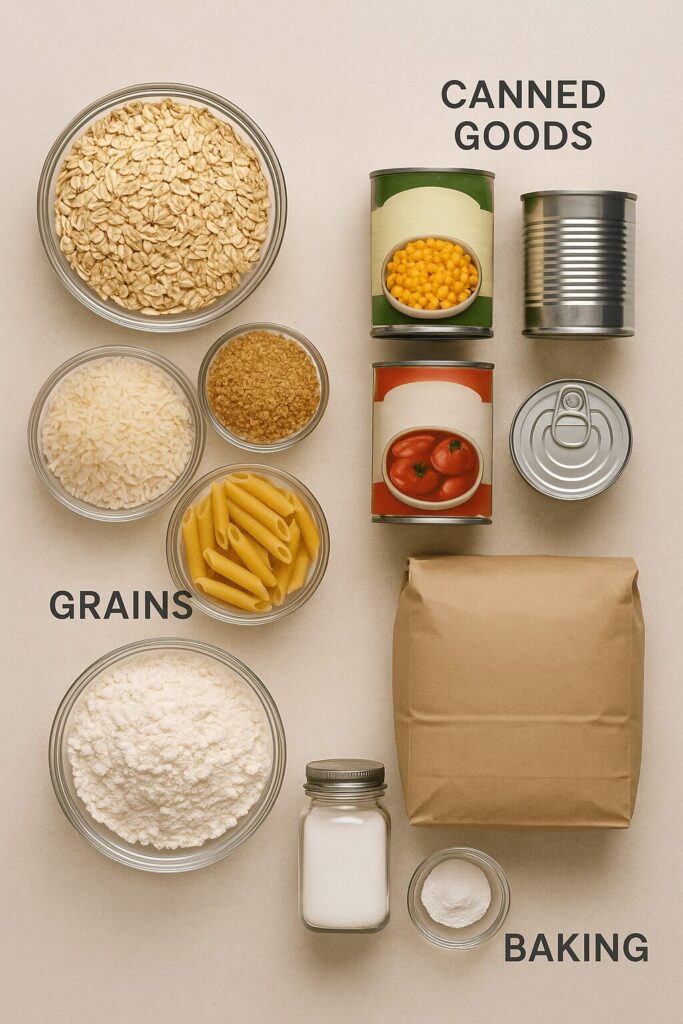
Gather all the food items you decided to keep from your clean-up along with any other food items lying around that you want to include in your pantry.
Jot It Down (No Fancy Spreadsheet Needed)
You don’t need a high-tech solution — just grab a notebook, printable, or even a sticky note. Create a simple list with 2–3 columns:
You can group things by category if that helps (Grains, Canned Goods, Baking, etc.).
Use a Printable (Optional)
If you want a tidy version, I’ve created a free Starting Pantry Inventory printable you can download and fill in. It has a simple layout with space to list what you have now and what you might need soon. You can update it as your pantry grows.
[⬇️ Download the free printable here] (link to your checklist or inventory sheet) COMING SOON!
Keep It Somewhere Handy
Tape it inside a cupboard door, stash it in a recipe binder, or save a digital version to your phone. That way, next time you’re at the store or planning meals, you know what you don’t need to buy again.
Budget-Friendly Ways to Store Food Without a Pantry (Using What You Already Have)
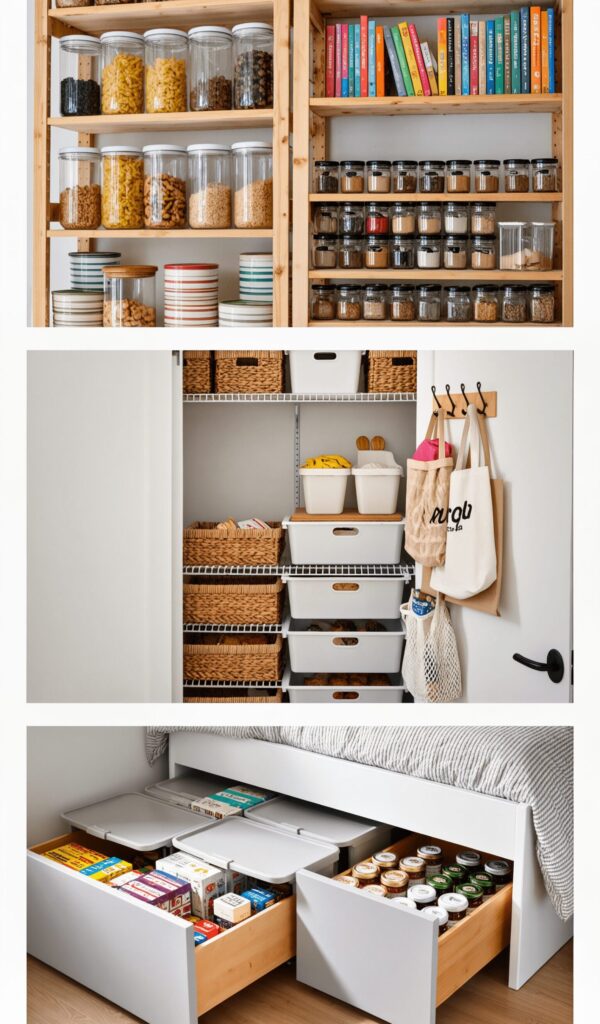
These no pantry food storage ideas are perfect if you’re working with a small space or tight budget.
You can use pretty much anything you have in the house to store your pantry items and keep it organized. Start with what you have at first and replace the bins/shelves etc as you build your pantry.
Examples of storage bins you can reuse:
- Coffee tins
- Shoe boxes
- Glass jears
- Laundry baskets
- Boxes
- Bins
- Shopping bags( you know that material bags that you have piled up in the trunk of your car cause you keep forgetting to bing them into the grocery store with you?) They work great
Note: This section is not going to happen on the first day (unless you already have your storage bins)
Small Kitchen Pantry Ideas: How to Maximize Storage Without a Traditional Pantry
Whether you’ve got a tiny cupboard or a closet-sized pantry, the goal is simple: organize for efficiency and make every inch count.
Grouping and Labeling Organize Your Pantry by Category — Even in a Tiny Space
Whether you’re working with a shelf, a cupboard, or just a few bins, grouping and labeling your pantry items makes everything easier to find, use, and restock. It’s one of the simplest ways to turn your food stash into an actual system — not just a pile of cans and bags.
Start by sorting your food into loose categories. You can keep it simple or get as specific as you like. The goal is to make finding things fast and putting things back easy.
Basic Pantry Group Ideas:
- Grains & Pasta: Rice, oats, noodles, couscous
- Canned Goods: Beans, tomatoes, soup, tuna (if you use it!)
- Baking Supplies: Flour, sugar, baking soda, chocolate chips
- Snacks: Crackers, granola bars, nuts, dried fruit
- Breakfast Items: Cereal, oats, pancake mix
- Condiments & Sauces: Oils, vinegar, hot sauce, soy sauce
- Spices & Seasonings: Salt, pepper, garlic powder, spice mixes
👉 If you’re using bins or baskets, each one can hold a different group. If you’re working with a single shelf or cabinet, group by zone or section.
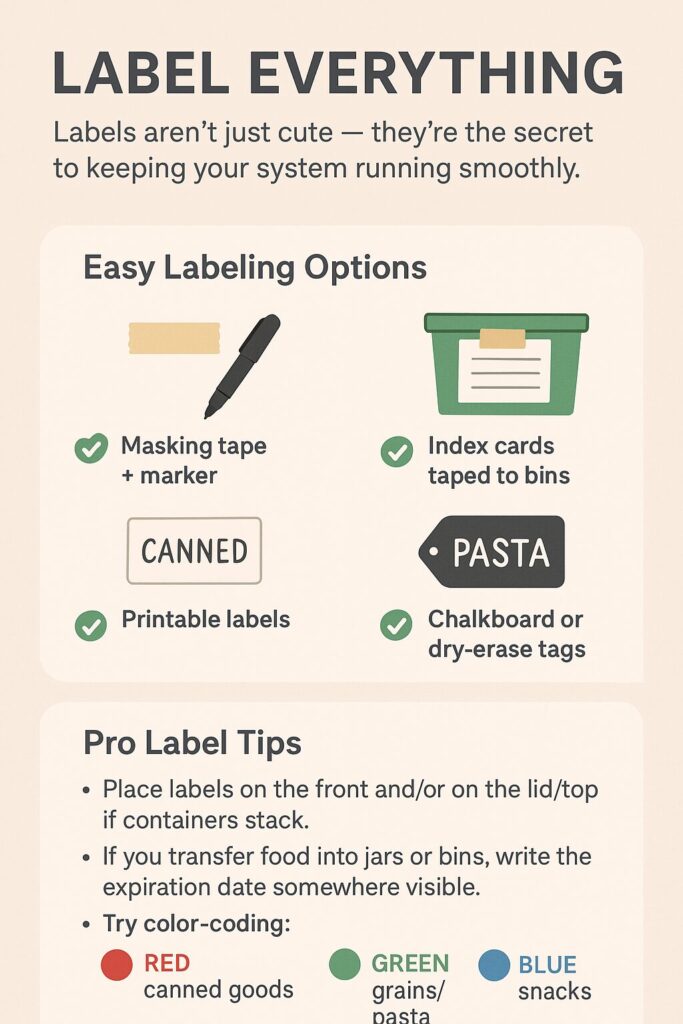
Label Everything
Labels make it super easy to keep your system going — especially if you share your space with others or tend to forget what’s in which bin (guilty!).
Simple Labeling Options:
- Masking tape + marker (fast and cheap)
- Index cards taped to the front of bins
- Printable labels (you can make or download them)
- Chalkboard labels or dry-erase tags (if you want to get fancy later)
Label Tips:
- Place labels on the front and/or top of containers (especially if they stack).
- If you decant into jars or containers, include the expiration or “best by” date.
💡 Bonus Tip:
Use color-coded labels for different categories (like red for canned goods, green for grains, blue for snacks). It helps you spot things at a glance — especially in deep cabinets or drawers.
👉 CTA / What’s Next:
Now that you’ve set up your food storage without a pantry, it’s time to talk about what to buy — without blowing your budget.
Coming soon: A complete starter shopping list for your budget-friendly pantry.
👉 New here? Check out my first post: The Budget-Friendly Pantry: What It Is and Why I’m Building One